Multitenancy is the pattern of serving multiple clients from a single codebase.
Each client is called a “tenant” and is able to customize part of the application, i.e: the URL, the branding, some rules, etc…
The following are some examples of multi-tenancy makes sense:
- A no-code website creator that also provides hosting. For example, each tenant may have their own URL: https://www.client1.com instead of https://client1.noCodeCreator.com
- A collaborative project management SaaS. Each client may have their own business rules: “when an X number of projects get stalled trigger this email to management”
- etc…
In this tutorial we will learn two things:
- How to create a DB schema that supports and plays well with multi-tenancy
- How to make Next.js apps work for custom URLs for different clients, and serve different content based on that.
To build our example we will use the case of a blogging platform. Each user will be able to sign up and register (and maybe pay a monthly subscription!) to have their own blogs.
Later our first customer, Marie, will be able to purchase a domain that she likes (i.e: www.mariewritings.com) and serve her blogposts by pointing it to our app.
First things first, let’s start by the Entity relationship diagram (ERD):
Database Schema
Most software projects start by defining the User entity as a table and then adding a userId attribute to every other entity in their codebase. In our case the table blogpost would have an authorId foreign key pointing to the id in the table users.
Things are pretty easy this way, and maybe you didn’t event need to read this article if it were just for this.
However, I want to go a little bit further, since projects sometimes grow and start needing more requirements.
Oftentimes what was a one-man show, ends up needing collaborators. Marie may want to add “Editors” that are able to improve her articles.
In the real world, Asana has the concept of Organizations which have many users of different kinds. Not only that, but each User may belong to many organizations.
The latter makes sense in the context of a freelance consultant having to jump from one organization to the other.
We’re talking about building a many-to-many relationship between User and the new entity Organization. However, not all users are on the same level in an organization. One user will clearly be the owner (the one who pays the SaaS bill). Another one may be a manager with the power of adding and removing users from teams and docs. Finally others may be individual contributors which just need to read and update tickets. Obviously how many levels you have is completely up to you and your design.
The following is a Prisma schema that creates a many-to-many relationship between User and Organization on a join table called Memebership
model User {
  id             Int     @id @default(autoincrement())
  name           String? @db.VarChar(255)
  handle         String  @unique
  email          String  @unique @db.VarChar(255)
  hashedPassword String

  memberships Membership[]

  createdAt DateTime @default(now())
  updatedAt DateTime @updatedAt

}

model Organization {
  id          Int          @id @default(autoincrement())
  name        String?      @db.VarChar(255)
  createdAt   DateTime     @default(now())
  updatedAt   DateTime     @updatedAt
  memberships Membership[]
}

model Membership {
  id   Int            @id @default(autoincrement())
  role MembershipRole

  organization   Organization @relation(fields: [organizationId], references: [id])
  organizationId Int
  user           User         @relation(fields: [userId], references: [id])
  userId         Int


  createdAt DateTime @default(now())
  updatedAt DateTime @updatedAt
  @@unique([userId, organizationId])
}

enum MembershipRole {
  OWNER
  MEMBER
}
As you can see, we’ve defined the Membership model whose primary key is a combination of the userId and organizationId.
The Membership model also contains the role attribute that will allow us to differentiate different kinds of users in an organization.
Creating the dynamic frontend
Setup
Let’s start from a blank Next.js app, run
yarn create next-app --typescript my-multi-tenant-appIf you now run
cd my-multi-tenant-app && yarn devYou should be able to see the app up and running.
In this moment you could also run the following to start setting up prisma.
yarn add prisma -D && yarn prisma init And alter the schema.prisma file to contain the models from the previous section. Remember to set a valid DATABASE_URL env var in the .env file and to install the prisma client
yarn add @prisma/client Excellent! The next things we need to do are:
- Identify the tenant, based on the request being made
- Return the correct blog posts corresponding to that tenant
Identifying the tenant from the request host
Let’s start by showing the basics; how to identify a tenant. Inside the next app in pages/index.tsx write:
import type {
  GetServerSideProps,
  InferGetServerSidePropsType,
  NextPage,
} from "next";

const Home: NextPage = ({
  host,
}: InferGetServerSidePropsType<typeof getServerSideProps>) => {
  return <div>Hello from {host}</div>;
};

export const getServerSideProps: GetServerSideProps = async (ctx) => {
  console.log(ctx.req.headers.host);
  return {
    props: {
      host: ctx.req.headers.host,
    },
  };
};

export default Home;
We can get the domain name that’s being pointed at our app via the ctx.req.headers.host property in getServerSideProps
To be able to test that this works in development you can change your hosts file (this is how you do that) to include the following line:
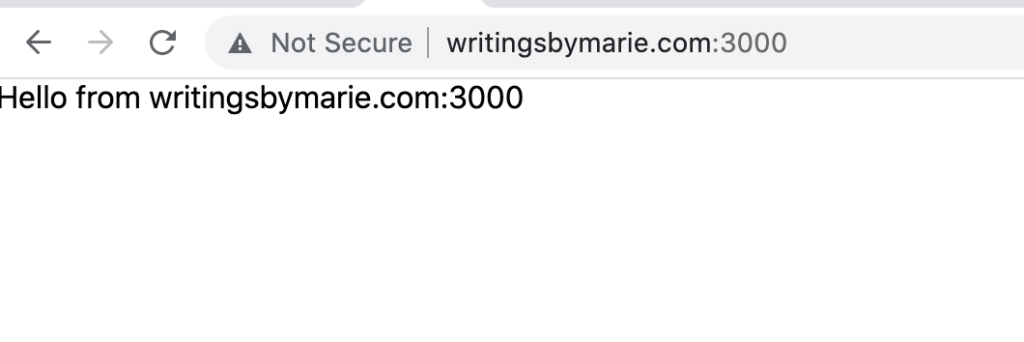
127.0.0.1 writingsbymarie.comYou’ll now be able to open chrome and navigate to writingsbymarie.com:3000 and will be able to see

Great! we now know from which domain users are getting to our app.
Now we should only need to create a map of domain names to tenants or —in our case— organizations.
Creating a map of domains to organizations
In your schema.prisma file add the following Domains model and link it with the Organization model. Such that an Organization can have many Domains
model Organization {
  id          Int          @id @default(autoincrement())
  name        String?      @db.VarChar(255)
  createdAt   DateTime     @default(now())
  updatedAt   DateTime     @updatedAt
  memberships Membership[]
  domain      Domain[]
}

model Domain {
  domain String @id

  isValid Boolean // This boolean should be true if a cronjob monitors that the domain points to our app address

  createdAt DateTime @default(now())
  updatedAt DateTime @updatedAt

  Organization   Organization @relation(fields: [organizationId], references: [id])
  organizationId Int
}
Run the yarn prisma migrate dev command and you should be good to go.
In your app, you should now let your users “add” domain names to the organization. This is currently outside the scope of this tutorial but it’s pretty easy: just add a form that lets users input a domain name (i.e: writingsbymarie.com) and create a record in the Domains table associated with the user’s Organization.
Don’t forget to authenticate users before allowing them to edit domain names!
Serving the correct content
In order to serve content, we need to have a model for content.
Continuing with our example, let’s create a simple example blogpost model
Add the BlogPost model to schema.prisma and then run the migrations (don’t forget!)
model Organization {
  id          Int          @id @default(autoincrement())
  name        String?      @db.VarChar(255)
  createdAt   DateTime     @default(now())
  updatedAt   DateTime     @updatedAt
  memberships Membership[]
  domain      Domain[]
  blogposts    Blogpost[]
}

model Blogpost {
  id Int @id @default(autoincrement())

  title String
  body  String

  organization   Organization @relation(fields: [organizationId], references: [id])
  organizationId Int
}
Now in order to access the content, create a ./db.ts file and write in it the following code to instantiate the Prisma client
import { PrismaClient } from "@prisma/client";

declare global {
  // allow global `var` declarations
  // eslint-disable-next-line no-var
  var prisma: PrismaClient | undefined;
}

export const prisma =
  global.prisma ||
  new PrismaClient({
    log: ["query"],
  });

if (process.env.NODE_ENV !== "production") global.prisma = prisma;
Why do we do all that dance with the declare keyword? It’s because in development Next.js will clear Node.js cache
Now create we will create a page to serve blogposts for a specific organization.
Create the file ./pages/blogposts and write the following to load up the blogposts:
import type {
  GetServerSideProps,
  InferGetServerSidePropsType,
  NextPage,
} from "next";

const Home: NextPage = ({
  blogposts,
}: InferGetServerSidePropsType<typeof getServerSideProps>) => {
  return (
    <div>
      <h1>These are the blogposts</h1>
      {blogposts.map((blogpost) => {
        /* Code to render the blogposts */
      })}
    </div>
  );
};

export const getServerSideProps: GetServerSideProps = async (ctx) => {
  const selectedDomain = await prisma?.domain.findUnique({
    where: {
      domain: ctx.req.headers.host,
    },
  });

  if (!selectedDomain) {
    return {
      props: {
        error: "The domain was not registered in the app",
      },
    };
  }

  const blogposts = await prisma?.blogpost.findMany({
    where: {
      organization: {
        domain: {
          some: {
            isValid: true,
            domain: selectedDomain.domain,
          },
        },
      },
    },
  });

  return {
    props: {
      blogposts,
    },
  };
};

export default Home;
And that’s it!
This article gives you an idea of how to create a multi-tenant app with Next.js and Prisma.
You’ll probably have to iron out the details like:
- Validating the domains that a user submit
- Accepting wild card domains in whatever provider you deploy to. Here’s Vercel for example
Things to remember
- Almost every model in your database will now need to have an
organizationIdormembershipIdattribute. Almost none of them should end up having auserIdattribute. This is how you will differentiate each client’s content. The alternative to this was having a separate db for each client which is way harder to maintain but can provide better guardrails for your devs.
—Mike, I understand usingorganizationIdbut when should I usemembershipId
— This blog post gives an example regarding org invitations - Identifying a tenant from the request-host doesn’t mean authentication! you will ALWAYS need to check for authorization headers —like JWTs— in requests that need to be protected. Think of identifying the tenant from the request host header a different flavor of identifying it from a simple query parameter in the URL.
Where to read more? here: https://blog.bullettrain.co/teams-should-be-an-mvp-feature/
